Showing posts with label p.s. I made this. Show all posts

07 September, 2014

DIY ::: Spice Jars


So, like six months ago I was in Target and the dollar section beckoned me and I found these cute little jars. For, yep, a dollar a piece. {I tweeted my excitement - that's how life-changing this find was).


Well, duh: I bought ALL OF THEM. Literally cleared them out. They would be perfect for spice jars (because I've wanted to replace those janky plastic ones for, um, ever).

But, six months, and they were still in their plastic bags, tucked away into a kitchen cabinet because Law school.

That's not totally true. I also couldn't decide how I wanted to label them. Inportant decisions, people! So, add creatice indecisiveness to the list of reasons it took me six months to get my lazy butt in gear and just make the dang switch.

Well, in a moment of annoyance with myself and the fact that I had a shit-ton of jars just laying useless, taking up prime real estate in my already inadequately-sized kitchen, I was like, "Whatever, I'm going to do this and I'll just use masking tape for now. It's like washi tape, right? Isn't that hip to use?"

These are the conversations I have with myself. 

Anyway, I did it. I made the switch and I love them. They'll probably get more permanent labels later in life, but for now they're cute and functional AND they fit, standing up, in my spice drawer (the drawer I had previously stowed the lesser, plastic spice jars in). 


Ta-dah.


08 January, 2014

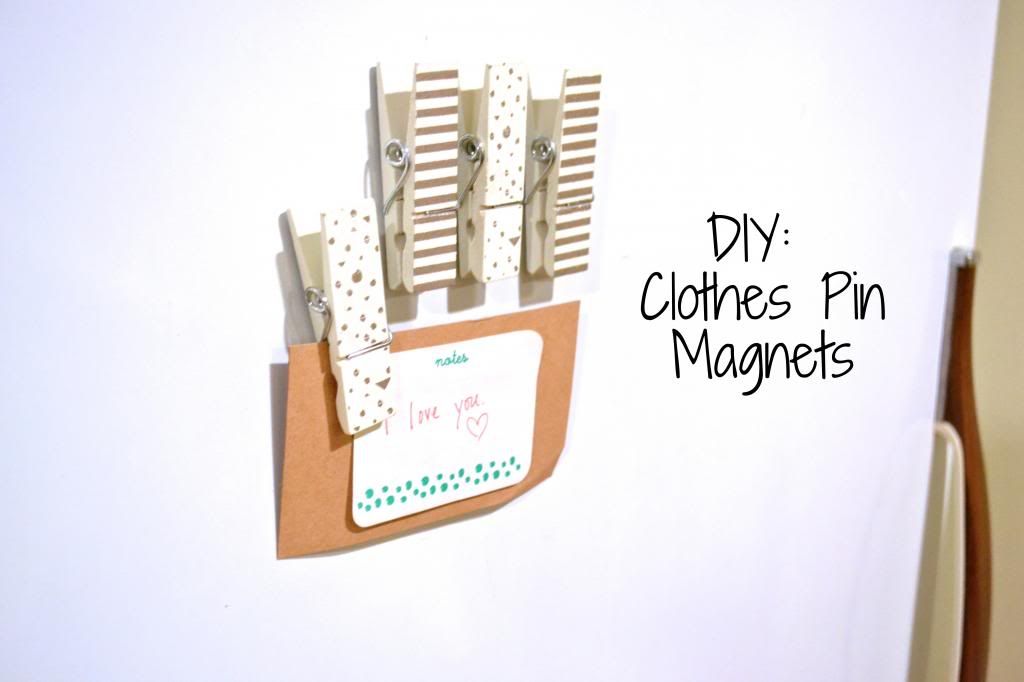
The Easiest DIY Ever: Clothes Pin Magnets


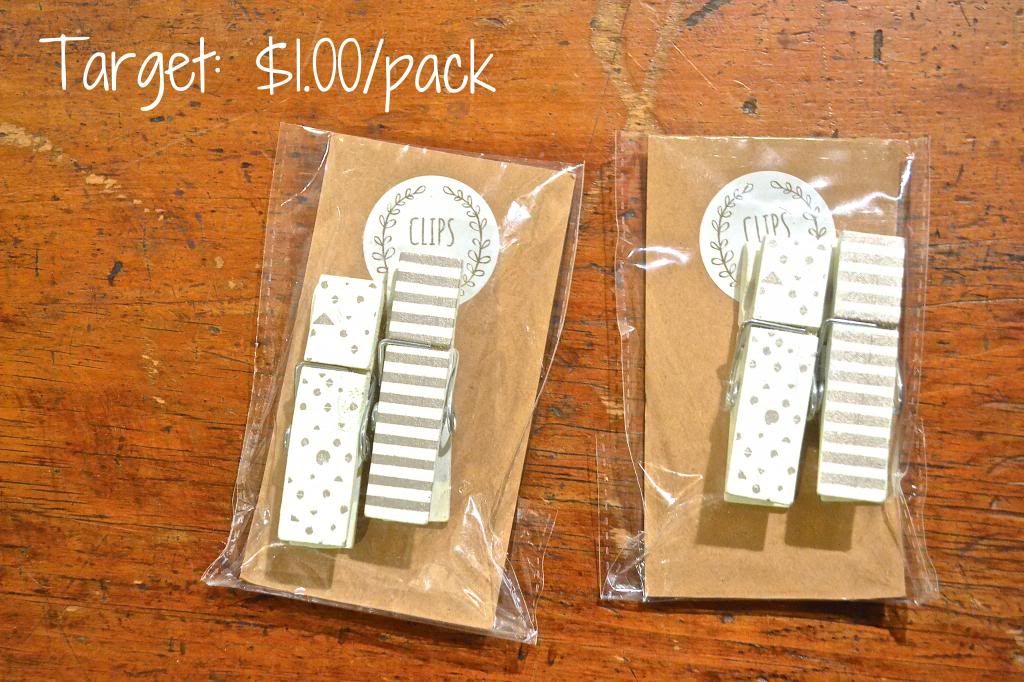
Hold the applause; this certainly has never been done before. Well, probably not so easily. Don't let those cute little designs on the clips scare you - I didn't do it. The Target $1 section is my favorite section to peruse because they have great stuff. When I saw those little clips (Hurry! Go get them now!) I grabbed one pack and then two packs. I mean, they were each one dollar.

I've had magnet tape in my craft box for months now from a botched attempt at "instagram magnets." That's a long and frustrating story. I'll probably attempt it again when I'm not so impatient. But I needed to use that magnet tape - I needed magnets!

School has started back up and I'm not ready to resign myself to library-living so this quick little DIY was just the trick to keep me preoccupied. Plus, they're cute. And I need cute right now.

The pictures pretty much take you through it but here's the rundown.

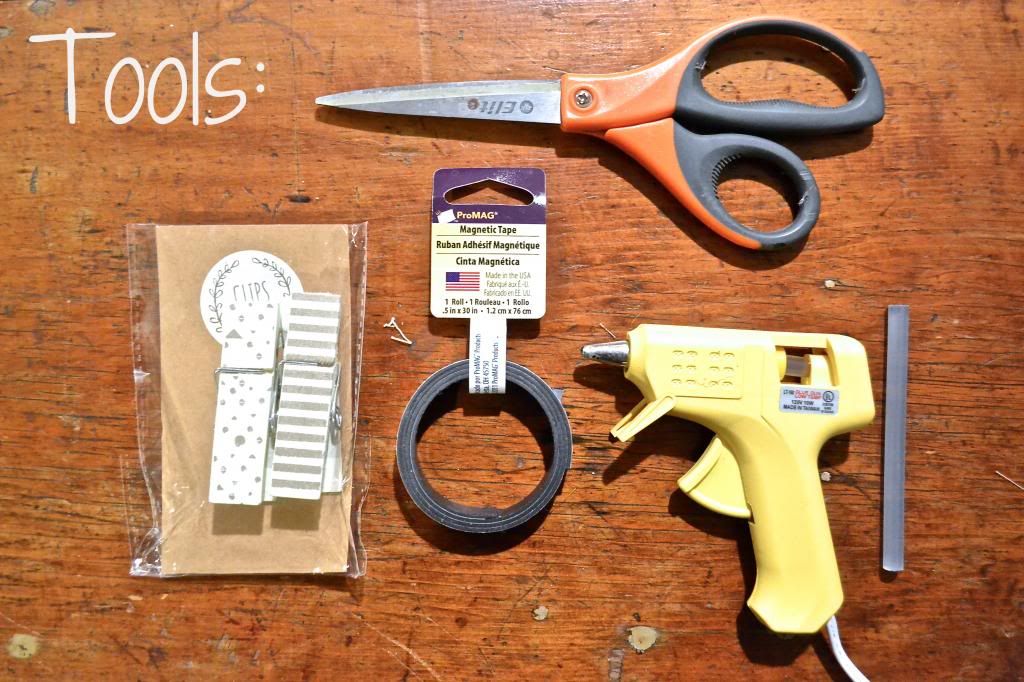
*What you'll need:
- $1 clothes pins from Target  (or you could be super crafty and design your own although these are wider than the typical clip)
- Magnet tape from any craft store
- Hot glue gun
- Scissors

The very difficult, expert steps:

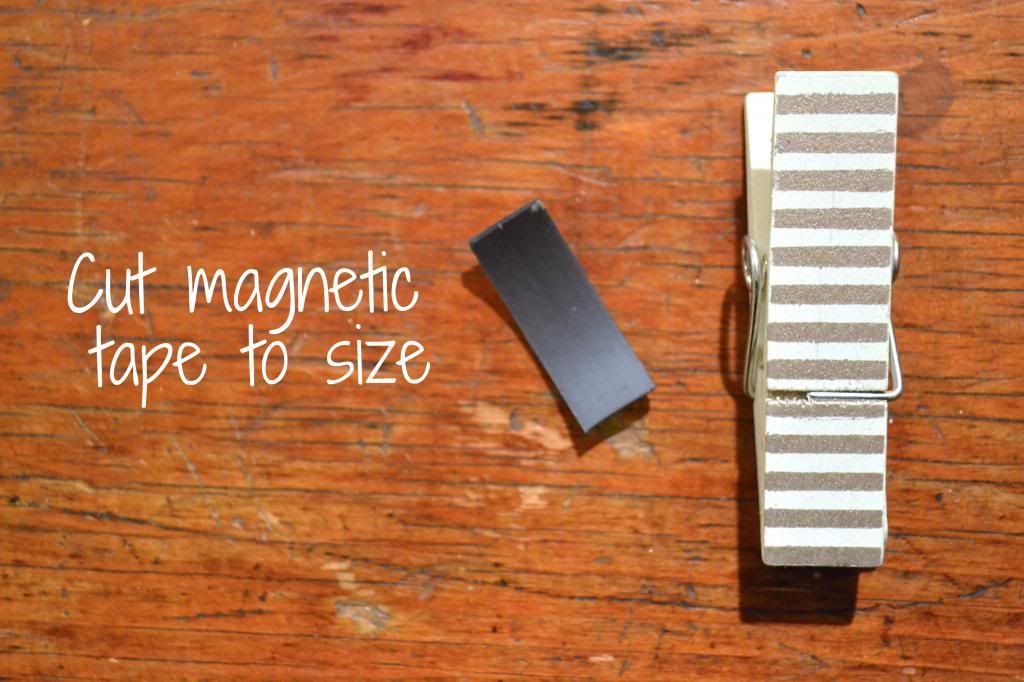
Step 1 - cut the tape to size (I cut about an inch)
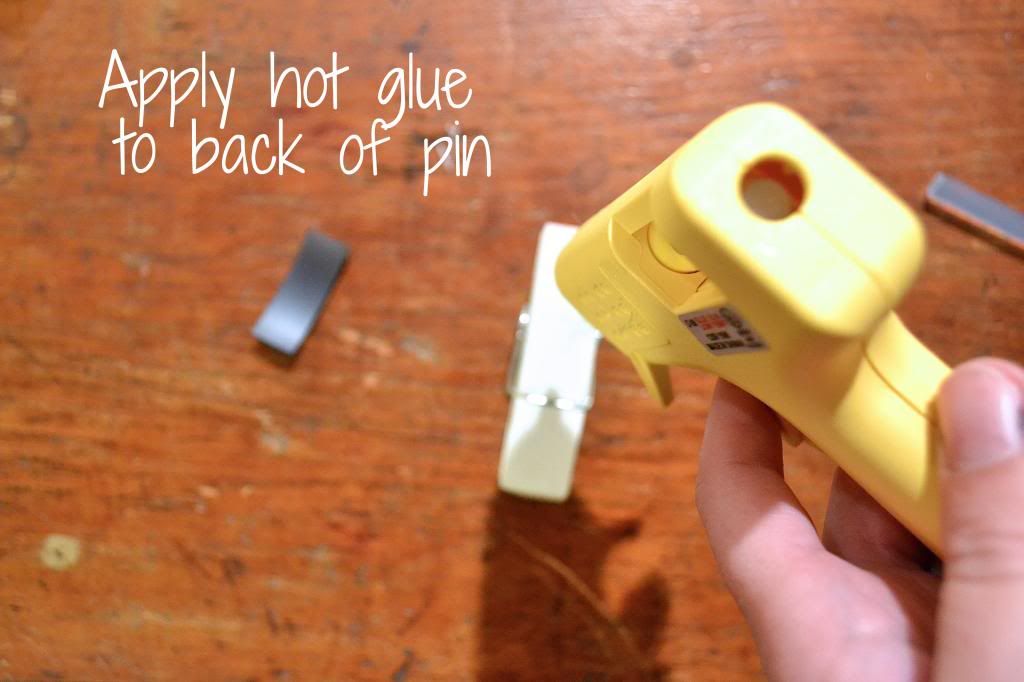
Step 2 - Apply hot glue to the back of the pin
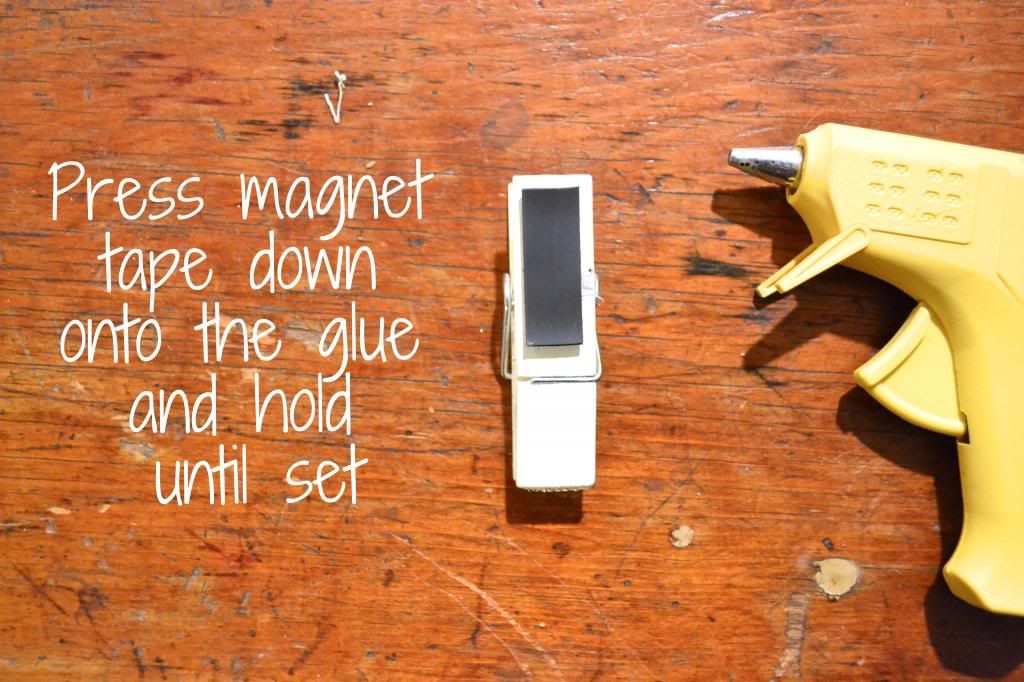
Step 3 - Press the magnet tape (sticky-side down) onto the glue and hold firmly until it sets
Step 4 - Repeat on all pins
Step 5 - Put the cute little guys on the fridge!

You guys, seriously so easy. I shouldn't have made a diy post but, hey, I haven't posted in a while so at least its something, right?


*Is it just me or does it really suck to go to a "cheap/easy diy" blog post and realize you can't do it because you lack even half the tools necessary and the cost of the tools is about four times as much as the project? Ya, I hate that. 


17 December, 2012

Nailed it.


This was the first ever pin I pinned on Pinterest. I really though this project was way out of my reach when I pinned it. Surprisingly, it was not that hard. 

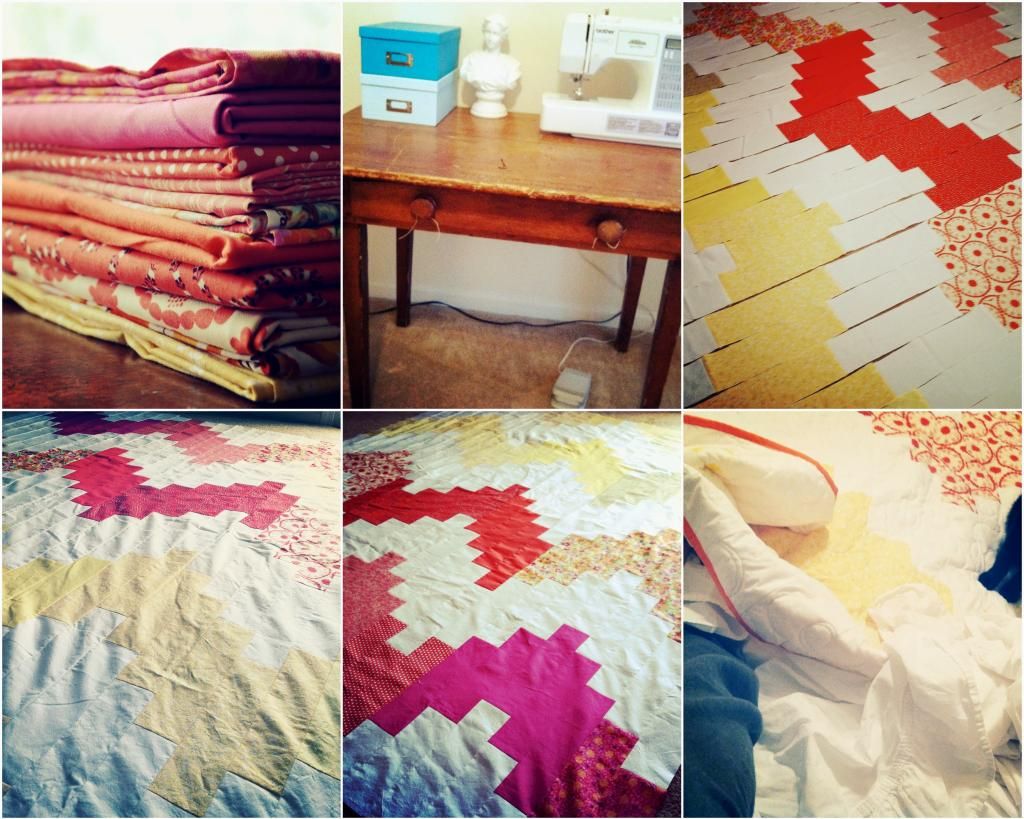
I learned a lot during this project. Like, maybe I should know the measurement of the final quilt before I start piecing together the thing (I ended up having to cut more fabric and extend the whole thing so it would fall nicely over our Queen size bed.)

Overall the cutting was the most trying part - it just took a long time. Once it started coming together it was so exciting. I paid to have it quilted by a local woman because the quilt is too big for my little machine (total measurements are 92x96). She did such a great job. I couldn't believe it when it was finished. I could hardly wait to put it on our bed!

Here are some iphone shots of the making process: 


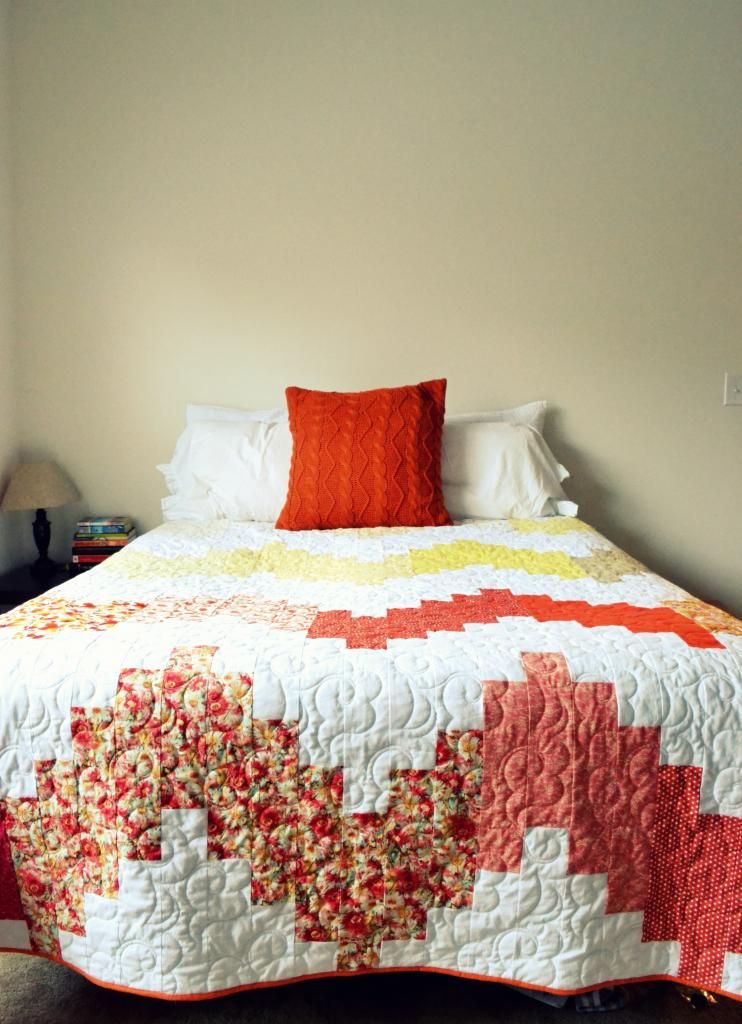
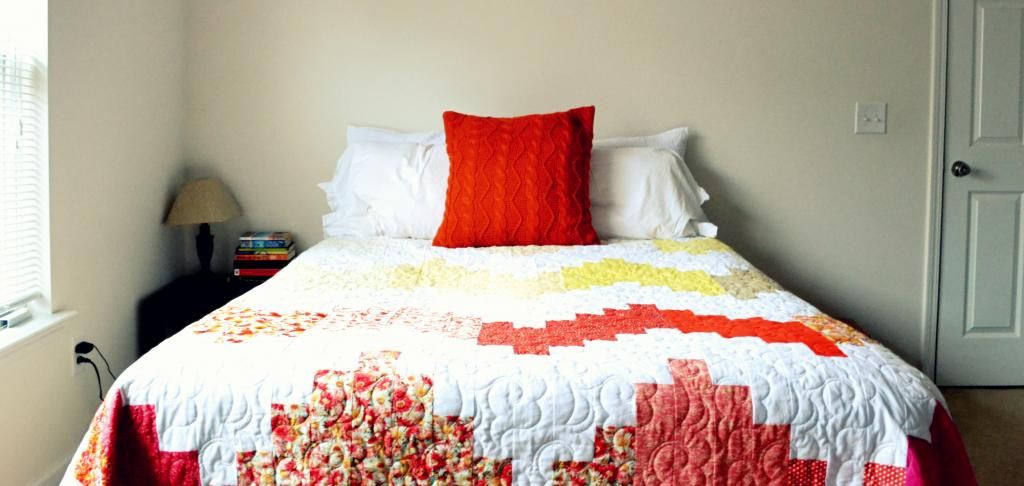
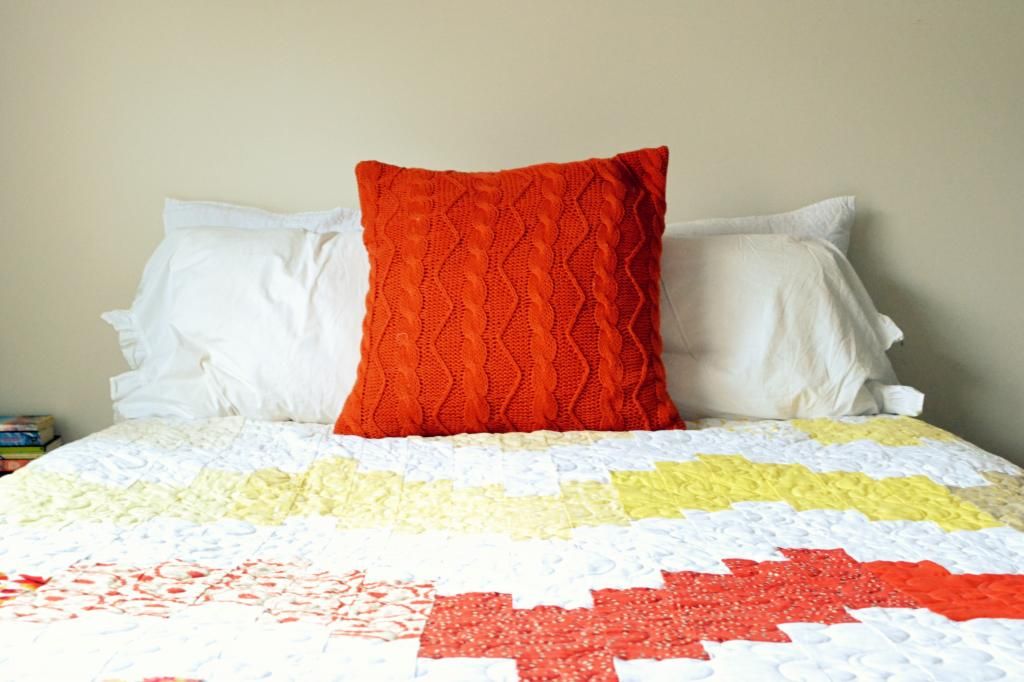
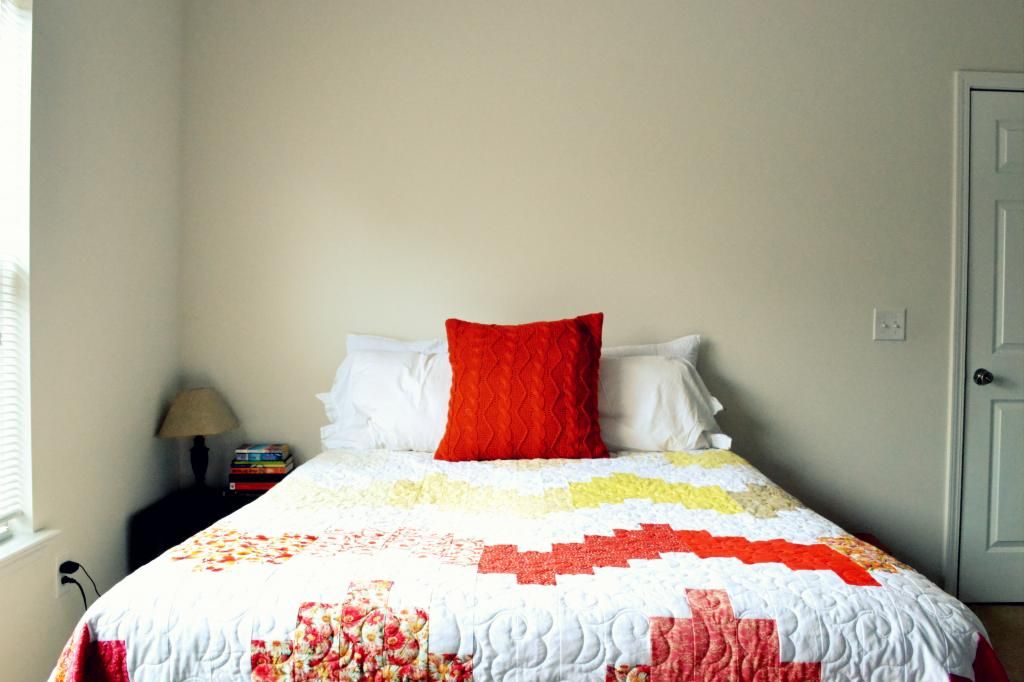
Aaaannnd, the finished product: 


We love it. I can't stop staring at it when I'm in the bedroom. I keep giving myself little pats on the back - I'm pretty proud.

Someday we'll have this and maybe these but for now a beautiful new quilt makes me happy.

p.s. this is where you can find the (free!) pattern

27 June, 2011

p.s. I made this


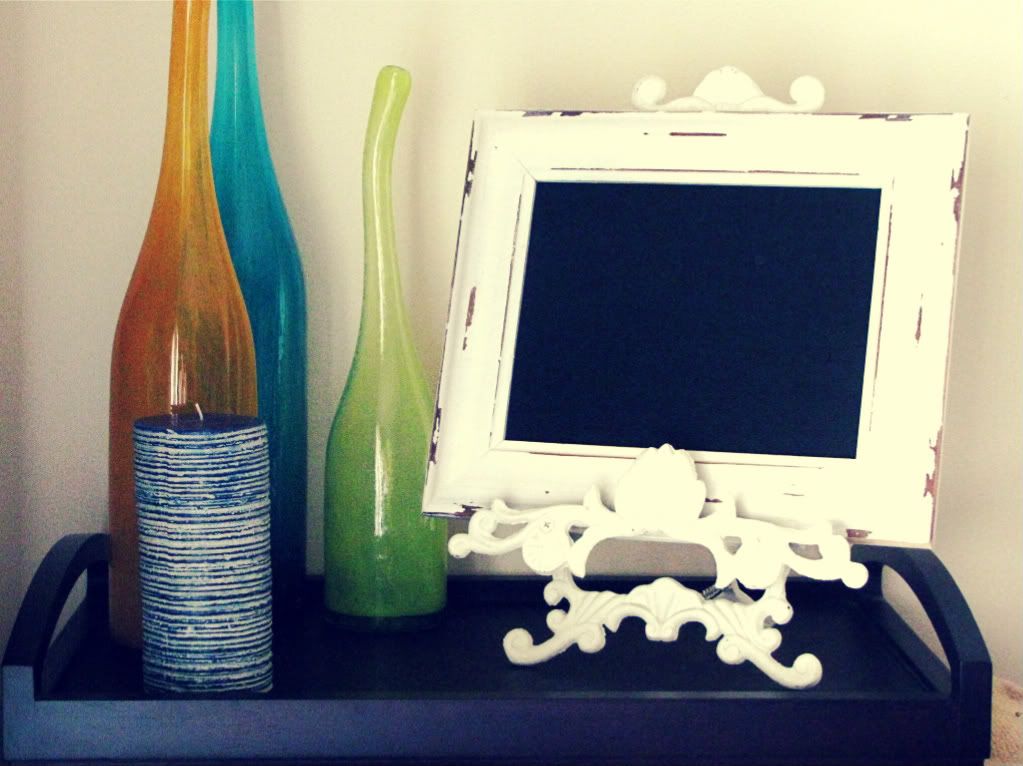
I wanted a little framed chalkboard. I looked around on Etsy and, while all the prices were reasonable, I realized I could very easily make it myself. So I did. And for about $10, too! Although, I already had an empty frame at home so that cut down on expenses but I always see deals for cheap frames at craft stores and wal-mart so I'm sure you could do it for under $15 total. 

Materials: 
Thin 8 1/2 x 10 wood (I got mine at AC Moore but I'm sure you could get it at any craft store) $1.99
Chalkboard Spray Paint $6.99 (Good investment, I'll be using it again)
Tacky Glue $1.39
Chalk $0.59
Total: $10.96

First I had to very craftily force the wood to fit my frame using scissors (Not perfect but it worked). Then I spray painted the wood outside and let it sit for about an hour and a half. Then I glued the dry wood to the frame. And, voila! Chalkboard frame. I'll be using it for a photo prop but then I'll probably mount it on the wall at our new place! We are moving to a new apartment at the end of this month, it has a fireplace -- perfection.

p.s. I will be writing on the chalkboard but it suggests waiting 24 hours so it can fully dry before writing on it.